Before I start this post I would like to thank Hannah from Daises and DMs for my my wonderful profile picture (right column on blog)! It is beautiful and I love it :)
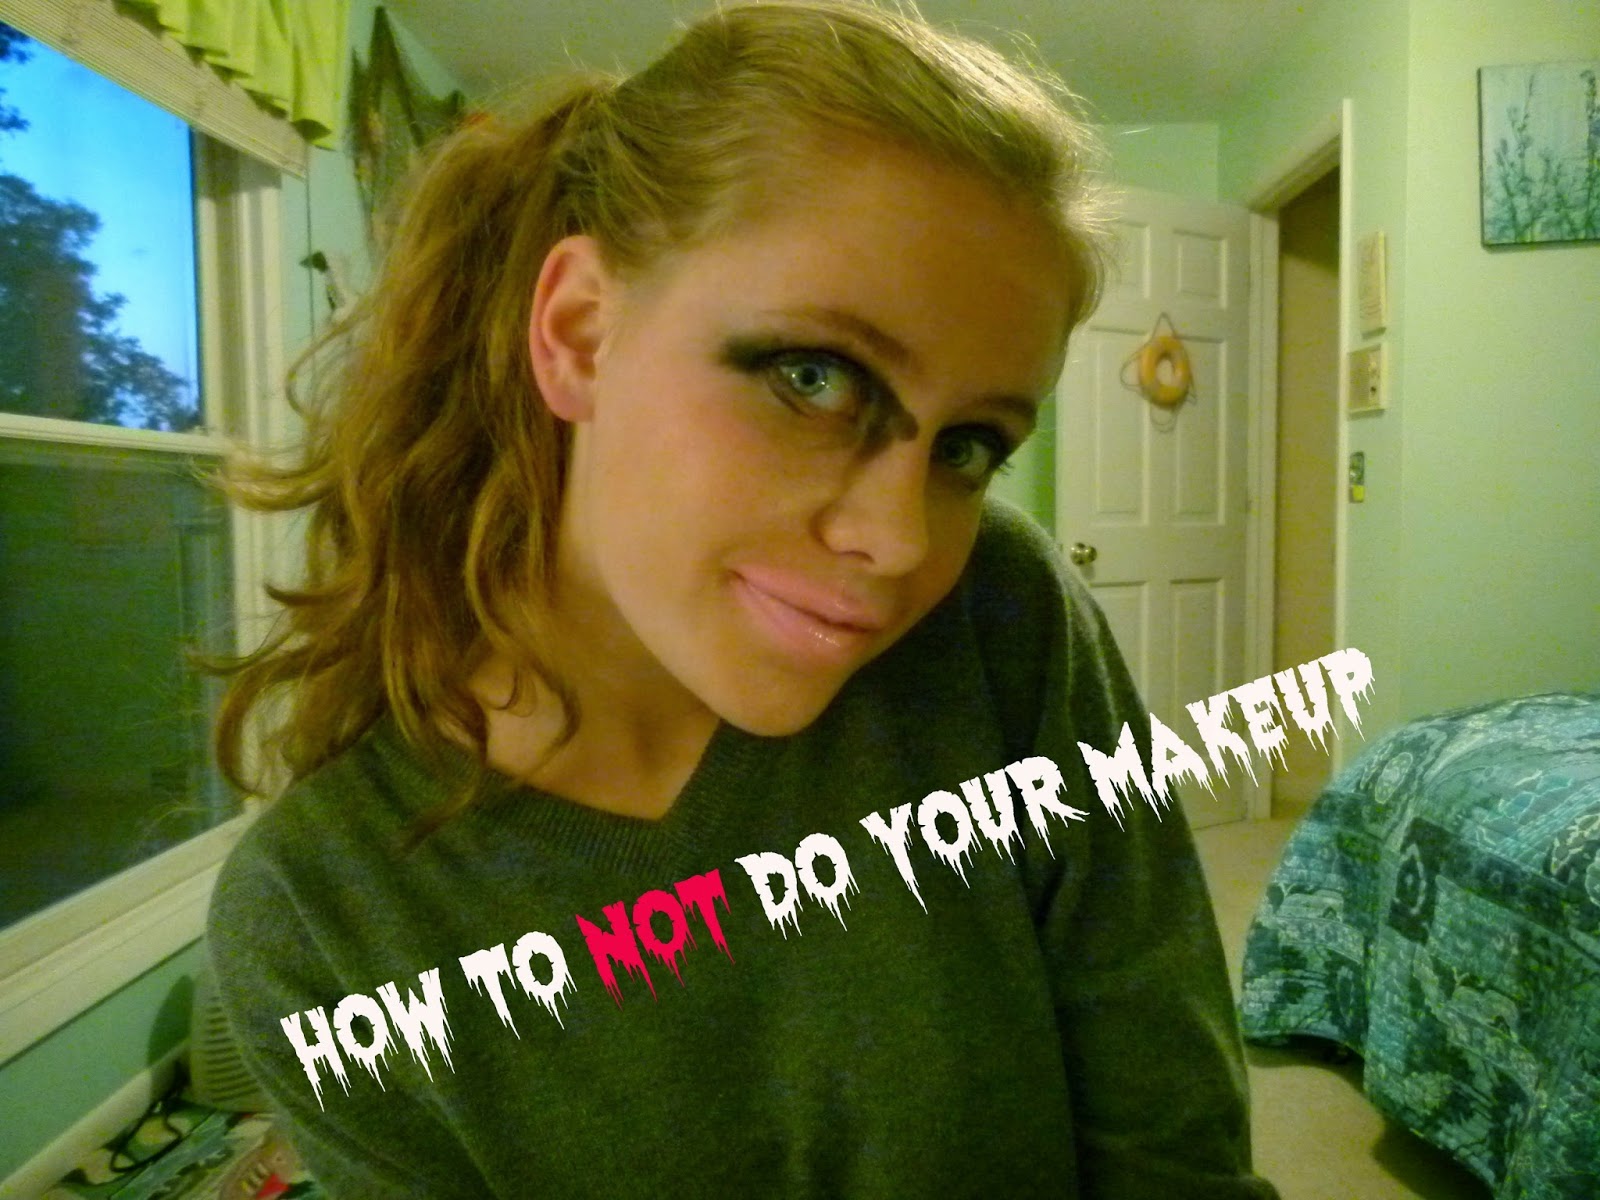
Okay, maybe the picture is a bit much, but it gets my point across! Their are some simple things that you can do wrong when putting on makeup that will lead to some not so pleasant results.
1: The Dry Skin Monster
I personally can't use foundation. No matter how much moisturizer I use or what time of year it is my skin is always too dry. When I apply it, it looks flaky and gross. No matter what skin type you are, ALWAYS use moisturizer. I use concealer, but only small amounts so that it doesn't stand out. To help keep the dry skin monster away from you, use an exfoliator several times a week to keep your skin smooth.
2: Not Changing Your Foundation
I don't have this problem, but when I see girls at the beach with full foundation, I cringe. Basically, in the summer, keep it light with a BB cream or no foundation at all. In the colder months use a fuller coverage foundation to lock it moisture. Plus, your skin tone changes! You wear darker concealer and foundation/BB cream in the summer and lighter foundation, BB cream, etc. in the winter.
3: Too Much Blush
We all want that rosy glow, but we don't want to look like a barbie. Before you apply blush, lightly pinch your cheeks in the area you want to apply the blush. The natural pink/red you get from your cheek is what you should aim to create with your blush.
4: Unblended Makeup
When you do your makeup, make sure you can actually see what you're doing. You may think that you blended in your concealer, but when you step outside you might see some streaks. Use your ring finger to blend, it is the most supple and it is just the easiest to use.
5: Shine Overload
Their are several ways you can make this happen. You skip out on primer, or you use too many luminizing products. To prevent this, use face primer and powder (only on your oily areas, DON'T dump it anywhere you please). If you want to, apply highlighter to your cheekbones, but don't go Bon Jovi with it.
6: Powder Crazy:
It is easy to pack on the powder all over. When you're done, you might look like a judge from the 1800's wearing a white wig. Use a brush and create light, fluffy circles and apply the product to the areas you need it. For most it is in the T-zone and under the eyes (to set your concealer). Throughout the day use oil blotting sheets, and maybe apply some more powder mid day.
I may have had a little too much fun taking these pictures...
Make sure you guys follow me on bloglovin to keep up with my posts. It is basically instagram, but for blogs. The link is on the right column. If you want, follow my instagram, it is emmar5768 . I would love to keep in touch with you guys! We are getting closer to my favorite time of year, fall! It is by far my favorite season :)
As Always,
xoxo Em
*This post is not sponsored, all opinions and photos are my own :)*


 While walking we found a cute vintage shop with a backyard area. I thought I didn't have any good pics of it, but once I added a filter some turned out pretty good!
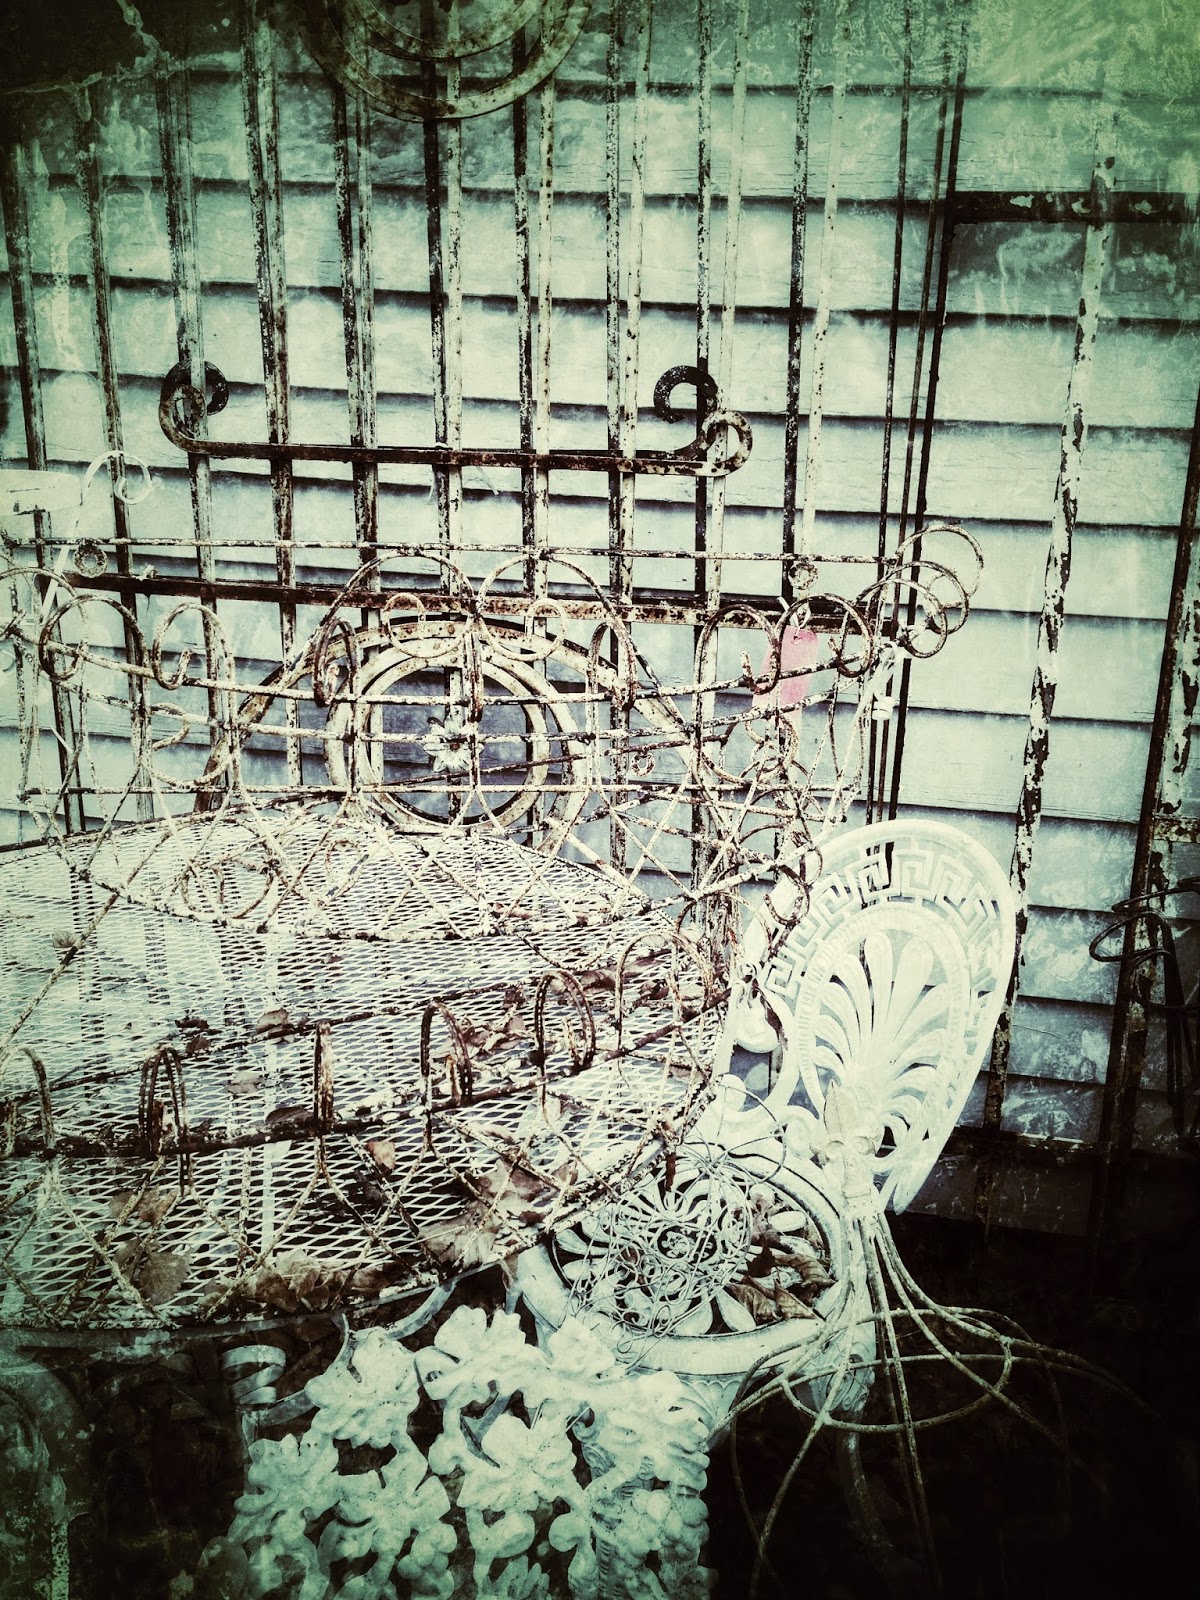 I hope you all survived finals week! It is finally break for me, and hopefully for all of you as well! This year I am really hoping for a white Christmas, we haven't had one here for years.