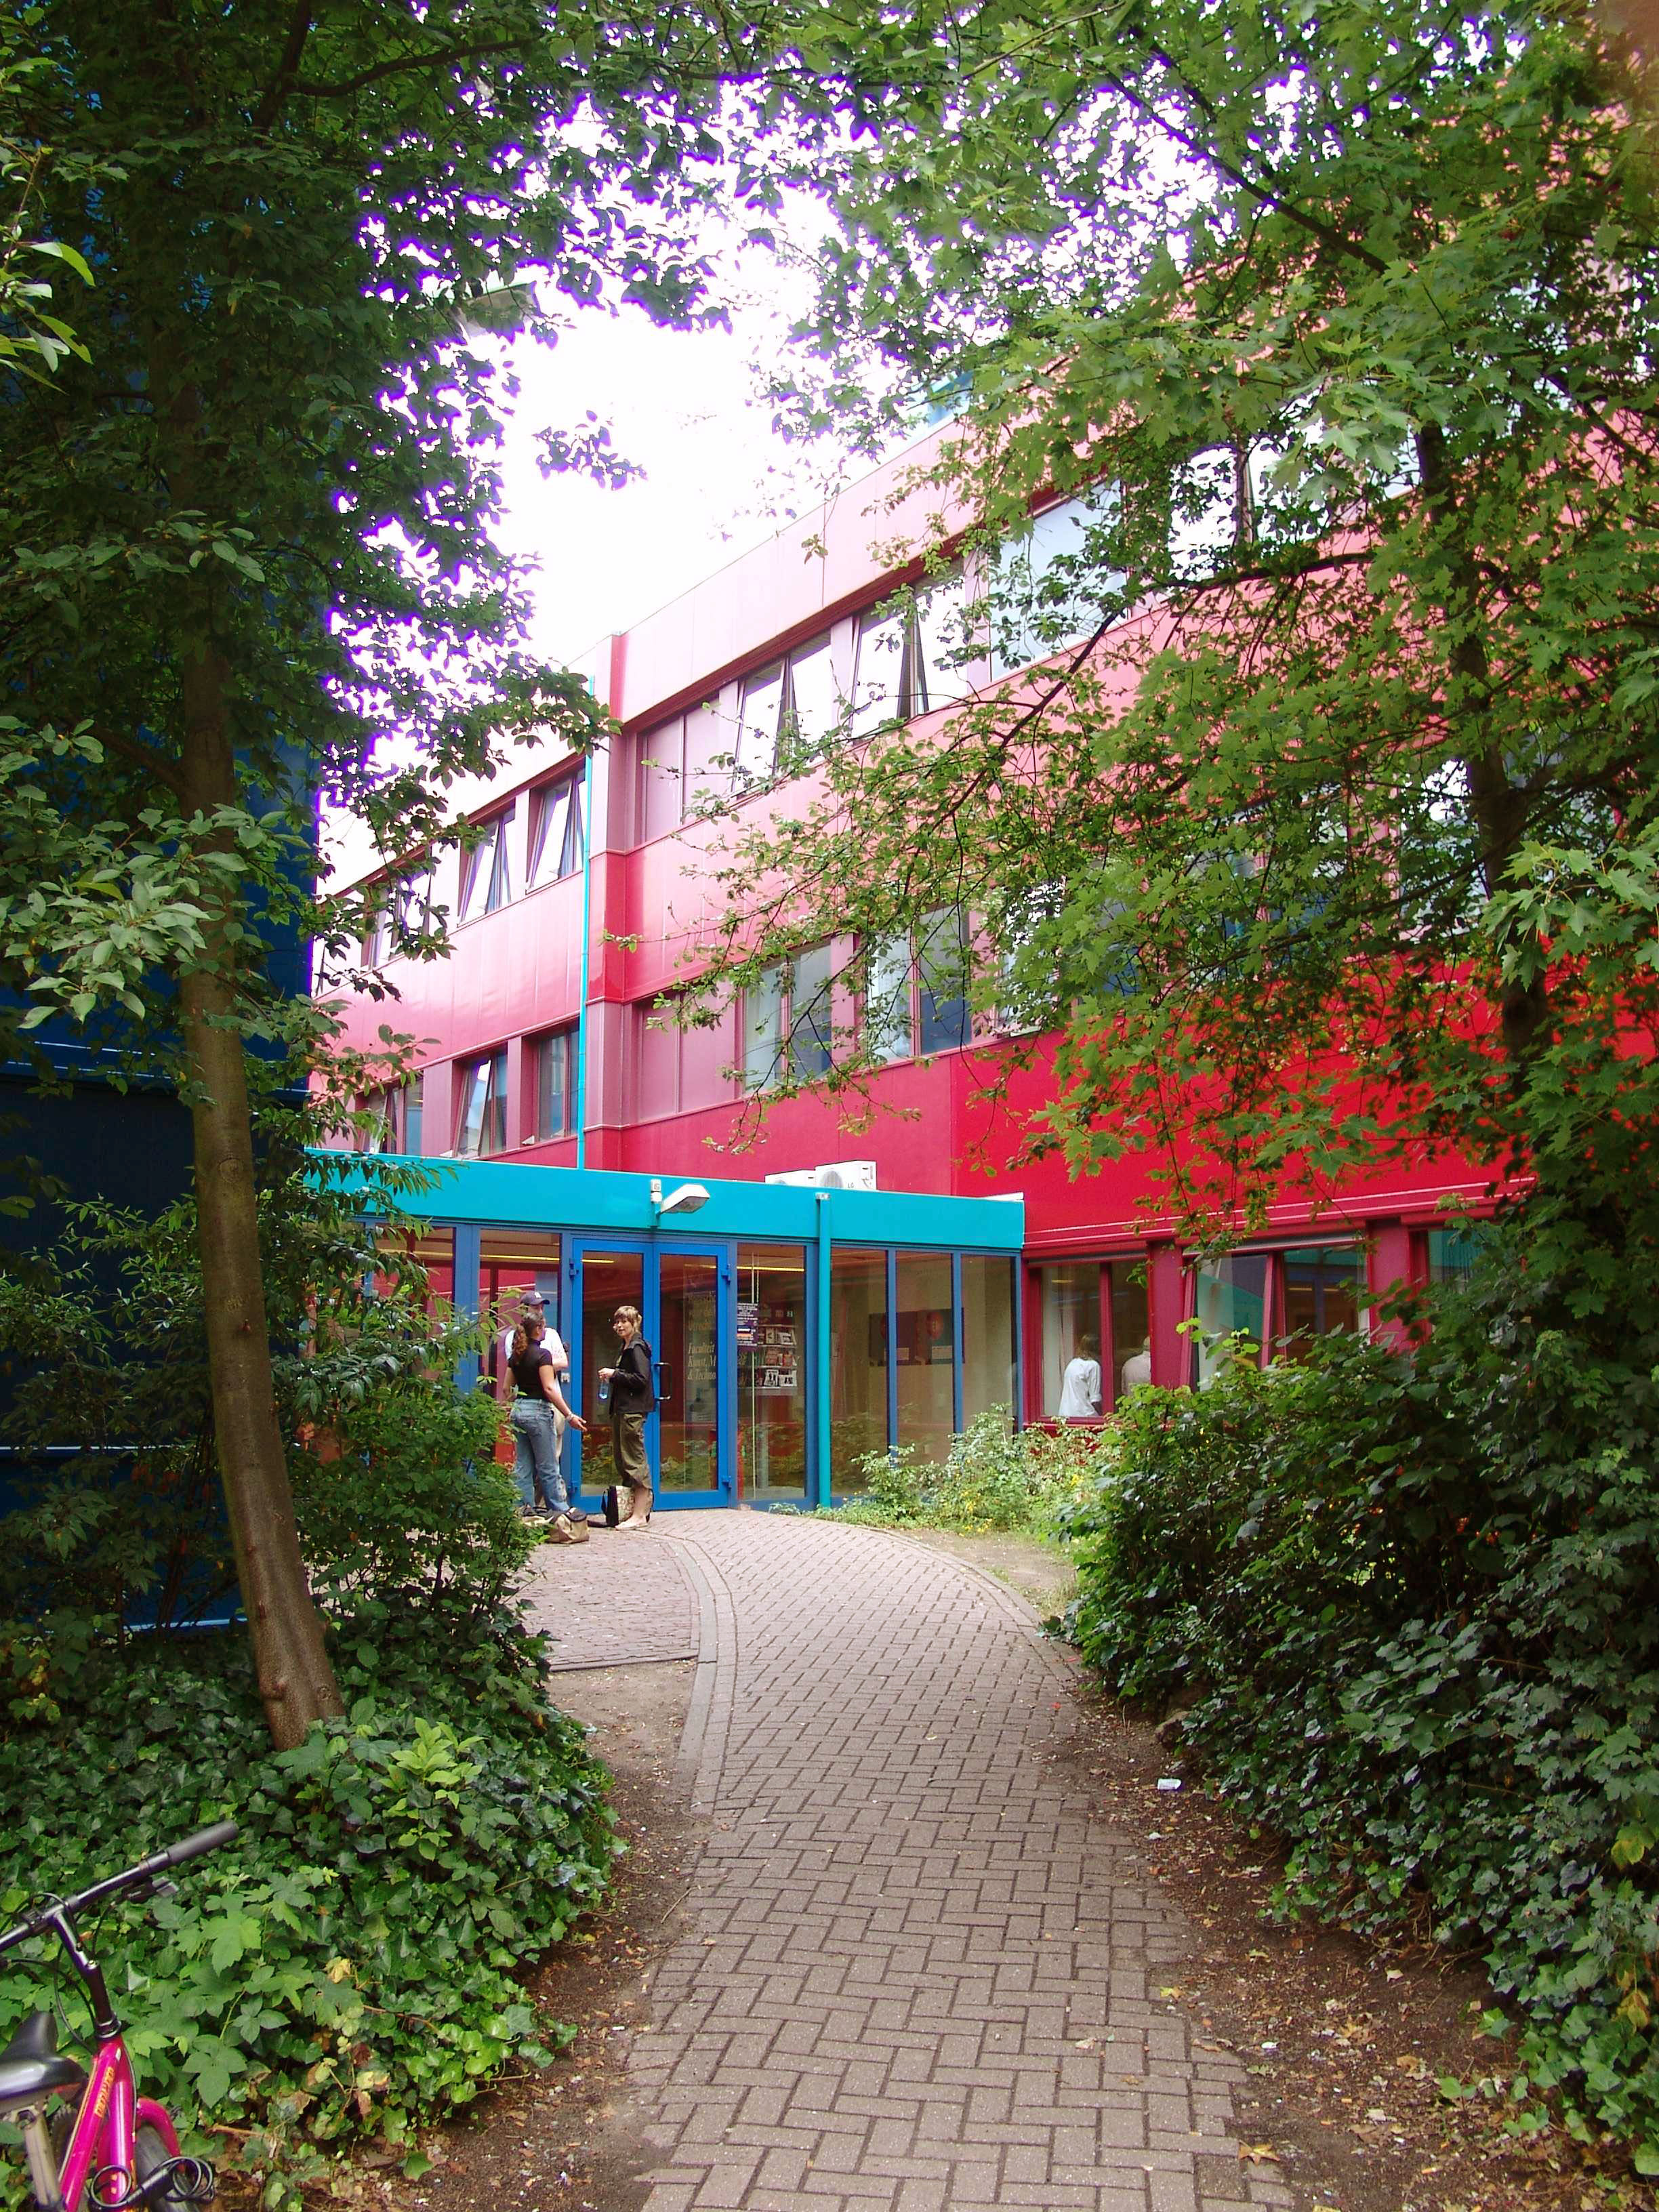
Going back to school can be a fun, yet nerve racking time. Every year I always hear the same advice from friends and family. "Join clubs! Join sports! Be outgoing!" You know, the typical pep talks. Are any of your friends or family like this? This post is meant to help you all become a little more pumped for school, and a little less nervous. These tips are for if you are going into a new school, or even if you're not. Tips marked with a * are for if you are going to a new school (middle school high school, transfer, etc.) The rest work for anyone! Tip #1: Lock screen your schedule This tip is for everyone. Even if it isn't your first year at the school, you probably won't know exactly where each of your classes are. Before you go to the first day, take a pic of your schedule and turn it into your lock screen. This way you can easily look at your phone and know where to go. Tip #2: Map out your classes I think one of the biggest reasons that we get nervous for school is because we are afraid of getting lost. Before I give you this tip, know that if you get lost, it isn't a big deal. You won't be the only one, just find the nearest teacher and show them your schedule. Now what I like to do before school is look to see if any rooms are near each other. If they are, I highlight them with the same color. This way I know at least where one or two rooms are. Also, if you can, get a hold of your school map and highlight your path. Trust me, it works.
2
Tip #3: Break the ice When you get to your first class, don't sit by yourself. Sit near someone, even if you don't know them. Give them a small smile and say hi. If you have to do anything with a partner, ask if they want to work with you. Then, at the end of class, if you feel comfortable enough, ask to compare schedules.
*Tip #4: Bring your own lunch For the first few days try to bring your own lunch. This way you have plenty of time to find a seat. You are also in a new environment, so try to get used to your surroundings before you try to conquer the lunch line. Plus, you'll save money!!
Tip #5: New Friends People change. So do friends. It is a new year, so you may lose some friends, but you will also meet many new ones! Try to be open, which I know can be hard. I am very shy, but if you close yourself off people will have a harder time getting to know you. One tip I have is to smile. If someone sits down next to you, smile.Not a huge freaky smile, but a quick small one so the first impression a person gets of you is a good one. Also, join something! I know, everyone says this. It really is a good way to meet people. Whatever club or sport you join, everyone else who is there also likes what you are interested. It also gets you out of the house. I personally am in the Key Club and Student Council.
My Own Experience: I hadn't ridden a bus in three years, so riding one was foreign to me. In all honesty, I didn't like it all. I have gotten used to it, earphones and music are lifesavers. When it comes to classes, high school isn't like the movies where kids can talk or fall asleep without the teacher noticing. Overall, the worst part about the week was lunch. I had the opposite lunch as all my friends, so I sat by the fist people I could see. I did this for a couple days until I finally met some people who I could sit comfortably by. Another thing you should know is that high school is huge. So if you're worried about gossip, it won't be nearly as bad as middle school. People mature in high school, and it makes for a much more adult environment.
3
What advice do you have for students going back to school? If you're still on break I hope you enjoy your final few days. I have also been nominated for the Liebster Award, so if you would like me to look at your blog leave the link down below. I would love to look at your blogs to nominate some of you! As Always, xoxo Em *This post is not sponsored, I don't need a license to these photos and all these opinions are my own* Photo 1: "Noe classroom" by Flominator - Own work. Licensed under Creative Commons Attribution-Share Alike 3.0 via Wikimedia Commons - http://commons.wikimedia.org/wiki/File:Noe_classroom.jpg#mediaviewer/File:Noe_classroom.jpg
Photo 2: "Kmt hilversum". Licensed under Creative Commons Attribution 2.5 via Wikimedia Commons - http://commons.wikimedia.org/wiki/File:Kmt_hilversum.jpg#mediaviewer/File:Kmt_hilversum.jpg Photo 3: "ZambianSchool4" by Florence Devouard - Florence Devouard. Licensed under Creative Commons Attribution-Share Alike 3.0-2.5-2.0-1.0 via Wikimedia Commons - http://commons.wikimedia.org/wiki/File:ZambianSchool4.JPG#mediaviewer/File:ZambianSchool4.JPG
As August rolls around, so do the back to school commercials. We start to feel both nervous and excited about the new school year ahead of us. Summer is waving its last goodbye, and fall is whispering in our ears. Slowly we start to await the time when we can put on cozy sweaters and drink warm cocoa while watching the leaves fall. Now is a time to reflect on all the memories we, or I, in this case, made this summer. Other than watching countless seasons of shows on Netflix, I also went to Maine. Instead of writing down every little thing I did, I decided to just post tons of photos with captions. *Note* This is not me bragging about my vacation. I know that I am very fortunate to be able to go on these trips. I am posting these pictures for all of you to see as well as a diary/memory type thing.
In no order what so ever, here is a summary of my summer. From Northern Maine, to a small coastal town, to Quebec, I spent time in all the places I love. In future posts I may post one or two photos from my collection just to add some more depth.
How was your summer? I hope you did things that you enjoyed, even if it was just relaxing at home. My fashion page is finally uploaded, so go check it out! As Always, xoxo Em *This post is not sponsored, all photos and opinions are my own*
I love anything that makes my skin feel amazing. So naturally, scrubs fall into that category. Sadly, they are usually around $20 each. For years now I have been making my own scrubs, and I adore them! They are easy to make, and you can control what you put in them! Step 1: Choose your base You have two options. Salt or sugar. I use sugar in the summer, because it is less harsh on the skin. In the winter my skin needs a deeper exfoliation, so during the cold months I use salt. Now sugar is a natural humectant, which means it draws moisture from your surroundings and pulls it into your skin. That is why this is perfect for the shower, because their is plenty of moisture there! Sugar is also a natural source of glycolic acid, an alpha hydroxy acid, which breaks down the bonds of skin cells, creating younger looking skin. It is also good to use this scrub at night, because your skin will be more prone to sun damage after the scrub. Step 2: Choose your oil My favorite is canola oil, because it doesn't have a strong smell. You can also use olive oil, coconut oil, almond oil, etc. I don't like olive oil, because it has a strong smell. Now canola oil helps to prevent aging, acne, and spots. Sometimes I get bumps right above my elbows, and this gets rid of them right away. The oil also helps to moisturize and give your skin a smooth touch. Step 3: Choose your scent(s) For this post I used mint and lemon, but you can do anything! I also like grapefruit, lavender, and vanilla. I used fresh mint, peppermint oil, and lemon zest(don't use the juice!). Use any essential oil of your choice. If you don't have any essential oils, almond, vanilla, or any kind of extract will work. Step 4: Create your scrub!!! Start with pouring you base into a bowl. I only did a small amount because I'm leaving soon for vacation. Usually I do about a 1/2 cup. Next add your oil. How much you add is up to you, go by spoonful until you get the consistency you want. It can be like sand, or like syrup. I like mine in between, so that I can pick it up, but I like it kind of runny. This usually takes about 6 spoonfuls. Lastly, add your essential oil,leaves,zest,etc.. I store mine in a small mason jar with a rubber lid and keep it in my shower. After you use your scrub use lotion to lock in moisture.
I am back from vacation! School is starting, so I won't be posting as frequently as before, but it will be more than I was doing on vacation!
As Always, xoxo Em *This post is not sponsored. All photos, objects and opinions are mine :)*
When I look in my closet I see plentiful amounts of T-shirts that aren't the most fashionable, but hold a lot of memories. I decided to revamp some of these to make them more wearable and trendy. This is the first one, with more to come!
All you will need is an old T-shirt, scissors, and a pencil.
Flip your shirt over so you can clearly see the seams. We are going to start by making our T-shirt a muscle shirt, so we have to cut off the sleeves and part of the collar. I recommend you use a pencil, I used a sharpie so you can see where to make your marks.
Once you cut on the lines, the places where you cut will look kind of torn up. Simply tug both ends of the sleeve and/or collar to curl the edges a bit to hide the rough edges.
Next you want to cut a horizontal line up both sides of your shirt. Cut from the bottom up to until you reach the top and you can pull the waist seams away from each other (like the picture above).
On both sides cut about 1.5 inch long strips that are a little less than an inch wide. You can really cut these as wide or long as you want, as long as you can make a double knot with them.
Tie the top layer of the strip with the bottom. Make sure you do a double knot, or everything will come undone (I speak from experience). When you finish, tug the bottom and top part of the shirt to stretch everything out.
I like using this type of shirt on top of my bathing suit because it is light and easy to take off. I am sorry for the all the typos in my previous post! I usually edit my posts the day after I write them, but I really wanted to post it after I wrote it! If any of you make either the biscotti or this T-shirt tell me what you think of it in the comments. As Always, xoxo Em
*This post is not sponsored, all opinions, pictures, and opinions are my own*
Recently I have been addicted to making biscotti,
and I have created the ultimate recipe. Each biscotti is about 85 calories,
and is very low in fat. The ingredients you'll need are few and simple. Ingredients: -3 cups all purpose flour -1 cup sugar -2 large eggs -1 egg white -1/2 teaspoon baking soda -1 teaspoon baking powder -1 teaspoon clementine or orange rind (I zest the entire clementine) -1 teaspoon vanilla extract -1/4 teaspoon almond extract -3/4 cup unsalted almonds -1/4 cup plus 2 1/2 tablespoons of water -1 teaspoon salt -Extra Water Optional: -1/4 teaspoon maple extract - 1.5 teaspoons of poppy seed Right
off the bat you can see that there is no oil or butter. I also take
away one yolk from an egg to eliminate some cholesterol. If you use a salted nut like pistachios add only a small pinch of salt. Now
the orange rind is not optional, because I've tried it without, and it
does not taste nearly as good. The maple extract is optional because it
can be hard to find, but it just adds more depth to the dough. The poppy
seeds add color, but not much taste. Now before you start, know that
this dough will be extremely sticky. Make sure you are always flouring your surface and spraying your hands with nonstick spray. Directions: 1.) Preheat your oven to 325 degrees F 2.) In a mixing bowl, mix together your flour, sugar, baking soda, baking powder, salt, poppy seeds, and almonds.
3.) Using a spatula or spoon give your dry ingredients a small mix. 4.) In a separate bowl, mix together your eggs (including egg white),
water, clementine or orange rind, vanilla extract, almond extract, and
maple extract.
5.) With the mixer on medium speed, slowly add your wet ingredients into the mixer. 6.) Mix until everything is mixed together and your dough is formed, like the picture below.
It may take a couple of extra tablespoons of water for the dough to form. Add it slowly and wait and see if it helped.
7.) Flour your surface and hands and put the batter onto your surface. Remember, the batter will be sticky. 8.) Spray your hands with nonstick spray, as well as the surface you will be placing the dough on. 9.) Place some flour onto the same surface where you sprayed the dough. I ran out of flour so I used nonstick spray, but usually I only use flour. 10.) Place half of the dough onto the surface. 11.)
Re-flour(or re-spray) your hands and take one half and place it on your floured
surface. You want to make sure you re-flour it so that it doesn't stick
to your surface. Apply more flour (or spray) to the top. Using your hands, press
the dough into about an 8 inch log that is about 2.5 inches wide, and
about 1/2 an inch thick. Put your log onto your cookie sheet (make sure
your cookie sheet is sprayed with nonstick spray).
When you put the log onto the sheet it will not want to come off your surface. Use your fingers as a spatula and get under the log as best you can. When you place it onto the sheet simply reshape it to how it was. 12.) Repeat the same process with the other half, and make sure to re-flour(or re-spray) everything the same way you did for the other half. 13.) Make sure the logs are placed horizontally on the baking sheet, both separated from each other, 14.) Using a baking brush or paper towel, lightly brush off as much flour as you can off from the tops. 15.) Bake for 30 minutes and then take out of the oven and let them cool for 10 minutes. 16.)
Place one log on a cutting board. Using a serrated knife, cut the dough
horizontally into about 1in. thick biscotti's. Place the biscotti's
onto the cookie sheet.
17.) Bake for 15 min, and then flip the biscotti's over to get an even cook time. 18.) After you flip them, bake for another 10 min. 19.) Take them out of the oven and let them cool completely.
I'm
telling you, these with a cup of tea are literally heaven. When you put
the logs on the cookie sheet you may have to reform them a bit, and
don't be discouraged by the dough. These are worth it!!!! I also love replacing the almonds with cashews and replacing the orange with lemon. The great thing about these is that you can make them however you want. If you're feeling fancy, melt some chocolate with water and drizzle it over the top.
I'm leaving on vacation tonight so I will not be posting anything on a schedule. I have some posts ready though and I I will post them throughout this month! As Always, xoxo Em *This post is not sponsored, all opinions are my own :)*
For as long as I can remember, smokey eyes have seemed to intimidating to even try. They look beautiful, but I felt as though if I did it I would end up with something that resembled a black eye. Although after watching several smokey eye videos on youtube, I decided to give it a go. I have attempted this look several times, and have come up with just the right look. It is easy, and is perfect for a night out. I apologize in advance for the horrible quality of these photos. My tripod moved each time I took a pic and made the photo blurry. To do this look you'll need a matte white shadow as your base. You could also use light yellow, pink, etc. You'll also need a dark matte brown eyeshadow as well as a black matte eyeshadow. As for the brushes, all you need is a fluffy brush that you can use to blend as well as put on the shadow, and an eyeliner brush. You'll also need a piece of tape. Start by priming your eyes. Then take your matte light colored shadow and apply it all over your lid and above the crease. When your eyes are open you should be able to still see some color.
Next you want to take a piece of tape and put it on your hand. Rip it off once or twice to remove some of the stick. Then, place it under your eye, following your bottom lash line.
Using your same brush, apply the dark brown along the edge of your eyelid by the tape. Apply the same color to your crease and blend it all out. Make sure you don't put too much of the brown on the eyelid. In the photo below after I took this photo I then blended until my crease and edge of my eyelid were the same amount of dark as the inner part of my crease in this picture.
Next use your black eyeshadow and eyeliner brush and line your top and bottom lashes with a thin line. Go back to the brush you used before and smudge the liner out. This brush should still have some brown on it, so when you smudge the bottom lashes you will also be bringing some color down. The last step is to clean your brush and go back to the light matte color. Add a bit of this to the center of your eyelid. Only a little though, and then blend it out. To finish the look curl and add mascara to your lashes.
On my eyes I did two different types of smokey eye. On the left the brown is focused on the outermost part of my lid, and it continues off the lid. I did this by applying the brown eyeshadow right next to the tape. On the right I kept the color concentrated on the lid, and brought some of the brown onto the lid.
I hope you guys enjoyed this post! It is almost July! This summer is going by quick... As Always, xoxo Em
Let me start this post by saying where my purse is from. It is a Vera Bradley purse, and the pattern is in summer cottage. I don't know the exact style, but the pattern is from a couple seasons back. I love this purse because it is perfect for summer. It fits on my shoulder well and the colors are adorable!
Now I would be lying if I said that all of these items are neatly organized in my purse, because they aren't. Recently I cleaned out this purse, which is why there aren't many items here. On the front of my purse is a pocket where I keep my receipts, because I always think I'll need them for something. It is one of my hoarder qualities. In the inside of my purse there are a total of 6 pockets, and I keep different things in each one. In one I keep my powder and hand cream. In another i keep my lip gloss and pens (random, I know). In the last I keep some perfume tattoos. I got a free sample of these a long time ago, because when I was 13 I was obsessed with signing up for free samples. These ones are temporary tattoos that smell like the perfume, which I think is cool. In another pocket I keep my sunglasses. In the main compartment of my purse I keep everything else. This includes my wallet, EOS lip balm, notebook, and Russian vocab book. The EOS is an awkward shape, so it won't fit in any pockets. I use my notebook to write down any ideas that pop into my head. I'm learning Russian, so I like to have my Russian vocab book so I can look at it when I have some free time. Another thing I bring with me is my phone, but it was charging when I took these photos. I will have a youtube video up soon to accompany this post. If any of you have blog posts that you want me too see leave the link to them below, I love finding new blogs to follow! As Always, xoxo Em *This post is not sponsored. I ordered the perfume samples on my own, they were not given to me. All photos, objects, and opinions are mine :)*